Bluehost Web Hosting Help
Transferring a Drupal Gardens Site
Overview
Attention: This service is no longer offered by Drupal. Please see Additional Support for Drupal.
This article explains how to transfer your Drupal website from Drupal Gardens to Bluehost.
Tasks Involved
- Export Your Site From Drupal Gardens
- Extract and Upload Files
- Set Up Database
- Import Data
- Modify Database Connection Settings
- Modify .htaccess File
- Log In With New Password
Export Your Site From Drupal Gardens
The first step to move your site is to get a copy of all your site database and files. You can obtain these by exporting your site from Drupal Gardens.
-
Log in to your account at Drupal Gardens. Drupal Gardens.
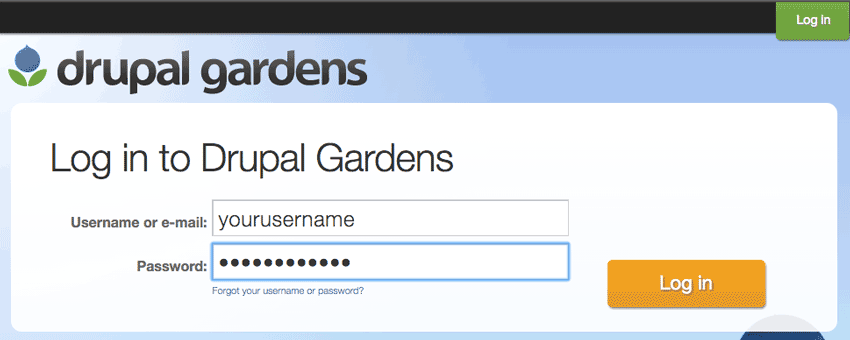
The Drupal Gardens login page. -
Go to My Sites..
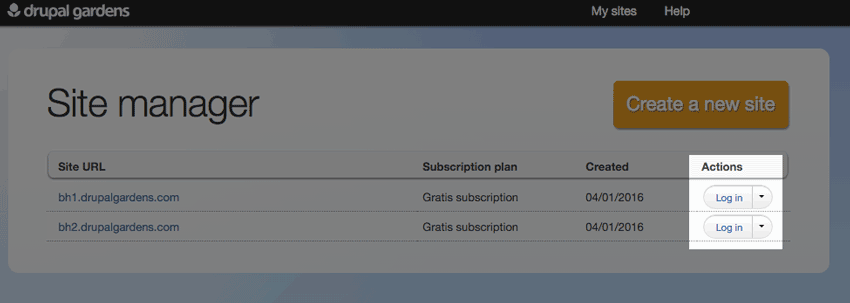
The Drupal Gardens My Sites page. - Click on the Actions menu next to the site you want to export.
-
Select Export site.
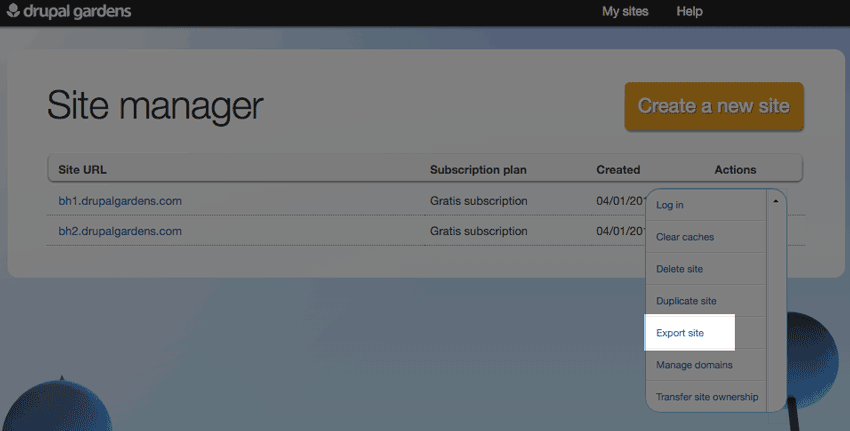
The export link. - Take note of the warning about your login credentials changing, this will be important later.
- Choose "Want to host it on a 3rd party hosting company" as the reason for exporting.
- Enter an explanation for exporting.
-
Click Export
Note: The Export can take some time depending on the size of your site.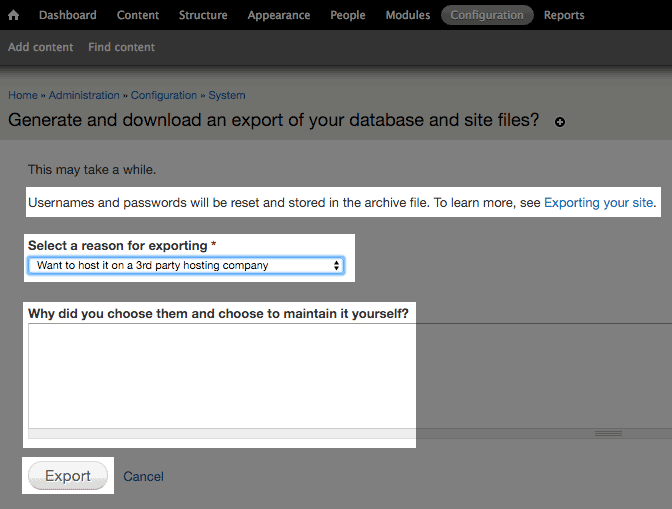
The export page. - When prompted, save the export file to your computer.


Do not delete any of the files you have exported. It's a good idea to keep them as a backup in case there is an error during the transfer of your site to Bluehost.
Extract and Upload Files
The file exported from Drupal Gardens will be a .tar.gz archive file. You will need to extract the file and upload some of its contents to your Bluehost account. This process will vary depending on your computer.
If your computer doesn't have the built-in ability to extract a .tar.gz file you can try using 7-zip.
For security reasons, there are a few files in the export that should never be uploaded to your Bluehost account.
-
credentials-*.txt This file contains the username and password for your site in plain text. Uploading it may make your password visible to anyone.
Note: Your credentials-*.txt will be named according to your Drupal Gardens' username and name of the site. -
*.sql This file contains the database that holds all your content, configuration settings, and user information.
Note: Your *.sql file will be named according to your Drupal Gardens' site name. It will be imported into a database in another step but should not be uploaded with the rest of the website.
-
Go to the location on your computer where you saved the export file, and extract the file.
Once extracted you will have a folder called docroot that contains all the files needed to move your site.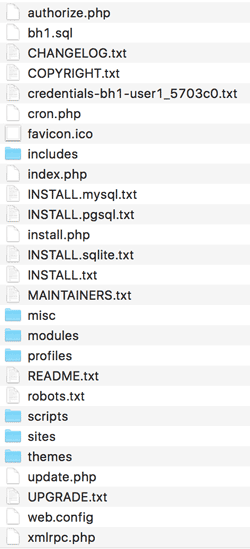
The docroot folder. - Open your preffered FTP program and connect to your Bluehost account. Note: For help with FTP please see FTP Setup Using Filezilla.
-
Navigate to the location you will host yout site.
Note: This can be your public_html folder or a directory inside it. -
Upload all files inside the docroot folder except the *.sql and the credentials-*.txt file.
Note: Your credentials-*.txt and *.sql file will be named according to your Drupal Gardens' username and name of the site.
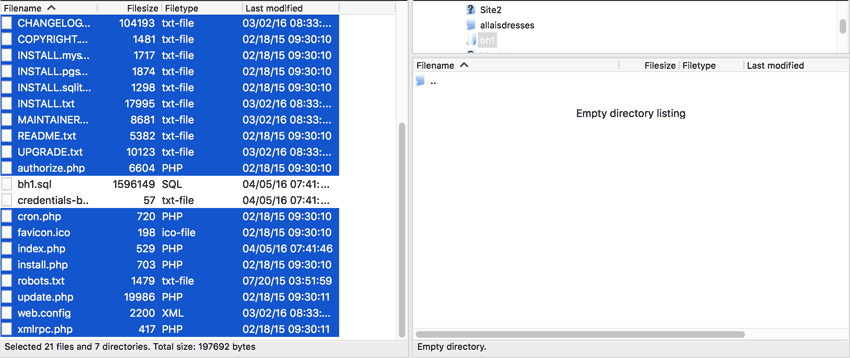
Uploading the files


Setup The Database
Drupal uses a database to keep track of all the content, settings, and user information. In this section, we will recreate that database.
Creating a Database
- Inside your Bluehost account go to Hosting.
- Next, select Databases and scroll to the "Create A New Database" form.
- Scroll to the "Create A New Database" form.
- Enter the name of the database you would like your Drupal site to use.
- Click "Create Database"
Create a User
- On the Database page, scroll to the "Add a New User" form.
-
Enter a username for your new database.
Note: All usernames are prefixed with your cPanel username and will look something like examplec_nameyouchose. - Create a password for the username.
- Click "Create a User"
Add the User to the Database
- On the database page, scroll to the "Add a User to a Database" form.
- Select the new user from the User dropdown.
- Select the new database from the Database dropdown.
- Click "Add"
- On the next page, select "ALL PRIVILEGES" at the top of the privilege table.
- Click "Make Changes"
The next step is to import all the information into the database.
Import Data
Now that you've created a new database, you need to copy the information from your old database into the new one.
- Go to the Hosting section of your Bluehost account.
- Scroll down to the "Database Tools."
- Click on the phpMyAdmin icon.
- Login to phpMyAdmin with your cpanel username and password.
Note: If you have changed your MySQL primary password use that password instead. - Select the new database you created from the list on the left side.
- Click on the Import tab.
- On the import page choose the "Browse your computer" option.
- Select the .sql file in the files you exported and extracted from Drupal Gardens earlier.
- Once you've selected the file, click Go.
Wait for the import to finish. Once it's done you can move on to Modify The Database Connection Settings.
Modify Database Connection Settings
- In your Bluehost account, go to Hosting then click on cPanel.
- Scroll down to the files section.
- Click on the file manager icon.
- Navigate to the directory you uploaded your Drupal files to.
- Go to the sites/default/ folder
-
Right click on the settings.php file and select Code Editor.
Note: If you get a message about charactor encoding click edit to continue opening the file. - Scroll down to around line number 221 and enter the new database name, username and password.
- Click Save, in the top right corner.
-
You will need to set the base url value in your settings.php file to use the temporary url. Find the line in the file that says:
$base_url = 'http://www.example.com'; // NO trailing slash! - If the line starts with a # then remove just that character.
- Change the url in the code, to the temporary url you plan to use for the site. Do not include a trailing slash.
For example if the temporary url of your site is http://74.220.219.65/~example/ then the line would read:
$base_url = 'http://74.220.219.65/~example'; // NO trailing slash! - Click the save button in the top right corner to save the changes.
Note: If you are using a temporary url like http://74.220.219.65/~example/ for your site instead of the domain name, you will need to make one more change to your settings.php file.
Modify .htaccess File
The .htaccess file that was exported with your site will cause a server error to appear. To resolve this, the .htaccess file needs to be modified.
- In the file manager, navigate to the directory you uploaded your Drupal files to.
- Right click on the .htaccess file and select Code Editor.
-
Delete the lines of code that say:
                        #Follow symbolic links in this directory.
                        Options +FollowSymLinks
Note:This code is usually on line 13 and 14. - Click the save button in the top right corner.
Note: If you are using a temporary url like http://74.220.219.65/~example/ for your site instead of the domain name, you will need to make two additional changes to the code in your .htaccess file.
-
Since temporary urls have a directory in the name, like http://74.220.219.65/~example/ we will need to add a rule in the .htaccess file to accommodate the folder. If your temporary url was
http://74.220.219.65/~example/for example then you would add:
RewriteBase /~example
to the the .htaccess file. Do not add a forward slash at the end of the rule. -
Next you'll need to add a
#before the line that reads:Header always set X-Content-Type-Options nosniffso the server will ignore that line of code. This is done so that the server will allow the site to be loaded from a url other than the domain name. If you change the site to use the domain name later on, you will want to remove the#. - Click the save button in the top right corner to save the changes.
That's all for modifying the .htaccess file. You can close your File Manager. Your site will now be functioning on your Bluehost account.
Log In With The New Password
The login credentials used for your site will have changed from what you used at Drupal Gardens. To log in you will need to use the new username and password that was stored in your site's credentials-*.txt file.
 50,200 views
 bookmark
 share
share
 E-mail
 Twitter
 Google Bookmarks
 Facebook
 MySpace
 Digg
Digg Reddit
 Delicious
 LinkedIn
 StumbleUpon
 tags:
tags: Recommended Help Content
Pushing Website from old host to Bluehost.com
How to Transfer hosted files from old host to Bluehost.com via ssh. Your old host must have SSH access to perform this move. Using SSH to transfer files to Bluehost
Moving website contents to Bluehost
I need to transfer my website from my old host to Bluehost, but I do not know how to do it without losing files or mail.
Free WordPress Migration
We are offering free website migrations for qualifying WordPress websites within the first 30 days after signup. The offer includes the transfer of one WordPress website and the ability to review the site before it goes live.
Related Help Content
How To Transfer Domain Name To Bluehost
Maintaining your domain registration and hosting services within the same account allows you to manage both services with only one login password, making it easier for you to stay on top of everything related to your website. This article explains the process to transfer your domain to [% provinfo.n
Domain Transfer Troubleshooting
There are multiple reasons why a domain transfer may fail. This article explains several reasons why your transfer may be unsuccessful and what you can do to fix it.
How To Transfer Domain Name To A New Registrar
This article explains how to prepare your domain to be transferred from Bluehost to a new registrar. You'll initiate the transfer itself with the gaining registrar, but there are a few things you can do to ensure the process goes smoothly.
How to Obtain Additional Support for Drupal
A list of locations where you can find support for drupal outside of Bluehost
FTP - Uploading the website
How do I upload my web site?
Website Pre-Publish Checklist
You have invested a significant amount of time creating and perfecting your website, and you're ready to publish it for the world to see! Are you really though? Use this checklist to ensure your site is ready for publication.
VPS and Dedicated Hosting: Restore or Transfer cPanel
If you need to transfer or restore a cPanel account for your VPS or Dedicated server, there is a tool within the WHM panel to perform these tasks. This article is about transferring or restoring from another server or restoring after a re-image.
My Website Is Slow
The website is taking a long time to load. It just seems slower today than normal.